1. Pickup details

Double-check your reserved trailer, pickup date and scheduled time. Have your self-service access instructions ready before heading to the yard.

SELF-SERVICE PICKUP · 8 STEPS · 5 PHOTOS
Your trailer is reserved. Follow this guide to get hooked up and on the road safely. Before you leave, send us 5 photos of your trailer and hitch connection.
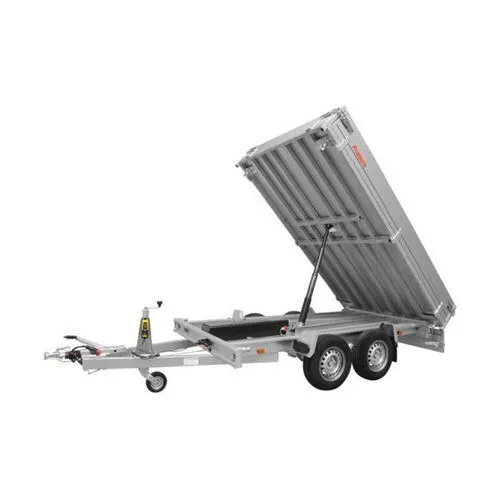
Double-check your reserved trailer, pickup date and scheduled time. Have your self-service access instructions ready before heading to the yard.

Before leaving home, make sure your vehicle has:
Not sure which connector or adapter your reserved trailer needs? Contact us before pickup.

Arrive at your scheduled pickup time. Follow your provided instructions to open the gate, locate your reserved trailer and verify that it is the correct one.

Walk all the way around the trailer. Check the tires and wheels, fenders and body panels, deck, ramps and gates, hitch, safety chains and wiring.
Look for existing damage or anything unusual. Something doesn’t look right? Contact us before proceeding.


With the trailer connected, test the running lights, brake lights, left turn signal and right turn signal.
STOP if you find damage, an unsafe connection or lights that don’t work. Do not leave the yard until the issue is resolved. Call 832-350-8080 for help.

REQUIRED BEFORE LEAVING THE YARD
Use your cell phone to take at least five clear photos showing the trailer’s condition and its connection to your vehicle.
Stand back for each corner photo so the trailer’s condition is visible. The connection photo must clearly show the hitch connection, safety chains and electrical connection.
TEXT: 832-350-8080
or email [email protected]
Include your name or order number so we can match the photos to your rental. Do not leave the yard until you have sent your pictures.

Inspection complete? Trailer securely connected? Lights working? Photos sent? You’re ready to roll.
Drive carefully, allow extra stopping distance and remember that towing requires additional caution.
Thanks for choosing Local Trailer Co.!